Creating a Simple App for the Pebble Smart Watch
Pebble recently released the first version of their sdk. I’ve written before about the fun things you can do with your pebble, and now I decided to check out what it would take to build a simple application. You can find the code for this tutorial here.
The documentation is pretty good, and even if you have little to no C experience it is fairly easy to create a new application using copy-and-paste from the numerous examples included with the SDK. Hundreds of watch faces have already been created and are on display.
Remember, following these instructions could brick your watch and/or be deprecated — exercise caution and proceed at your own risk.
Install the SDK
Follow the instructions to install the SDK on your Mac or Linux box. I decided to spin up an Ubuntu 12.04 32-bit VM so I didn’t have to worry about any 64 bit libraries getting in the way. Please note the use of 12.04, as things may fail on 12.10.
Create a New Project
Navigate to the SDK tools directory and use the included python script to bootstrap your project:
python create_pebble_project.py ~/pebble-dev/pebble-sdk-release-001/sdk my_new_project
And then configure it:
cd my_new_project
./waf configure
Let’s take a look at the basic .c file that was created and add some text to display:
#include "pebble_os.h"
#include "pebble_app.h"
#include "pebble_fonts.h"

#define MY_UUID { 0x60, 0x62, 0xDE, 0x83, 0x46, 0x49, 0x46, 0xBF, 0x9A, 0xD1, 0xE5, 0xE8, 0xAB, 0x1F, 0xA3, 0xD0 }
PBL_APP_INFO(MY_UUID,
             "Template App", "Your Company",
             1, 0, /* App version */
             DEFAULT_MENU_ICON,
             APP_INFO_STANDARD_APP);

Window window;

void handle_init(AppContextRef ctx) {
  (void)ctx;

  window_init(&window, "Window Name");
  window_stack_push(&window, true /* Animated */);
}

void pbl_main(void *params) {
  PebbleAppHandlers handlers = {
    .init_handler = &handle_init
  };
  app_event_loop(params, &handlers);
}
You probably already see some things you can replace:
- Template App — Replace this with the name of your app.
- Your company – Replace this with your name/company.
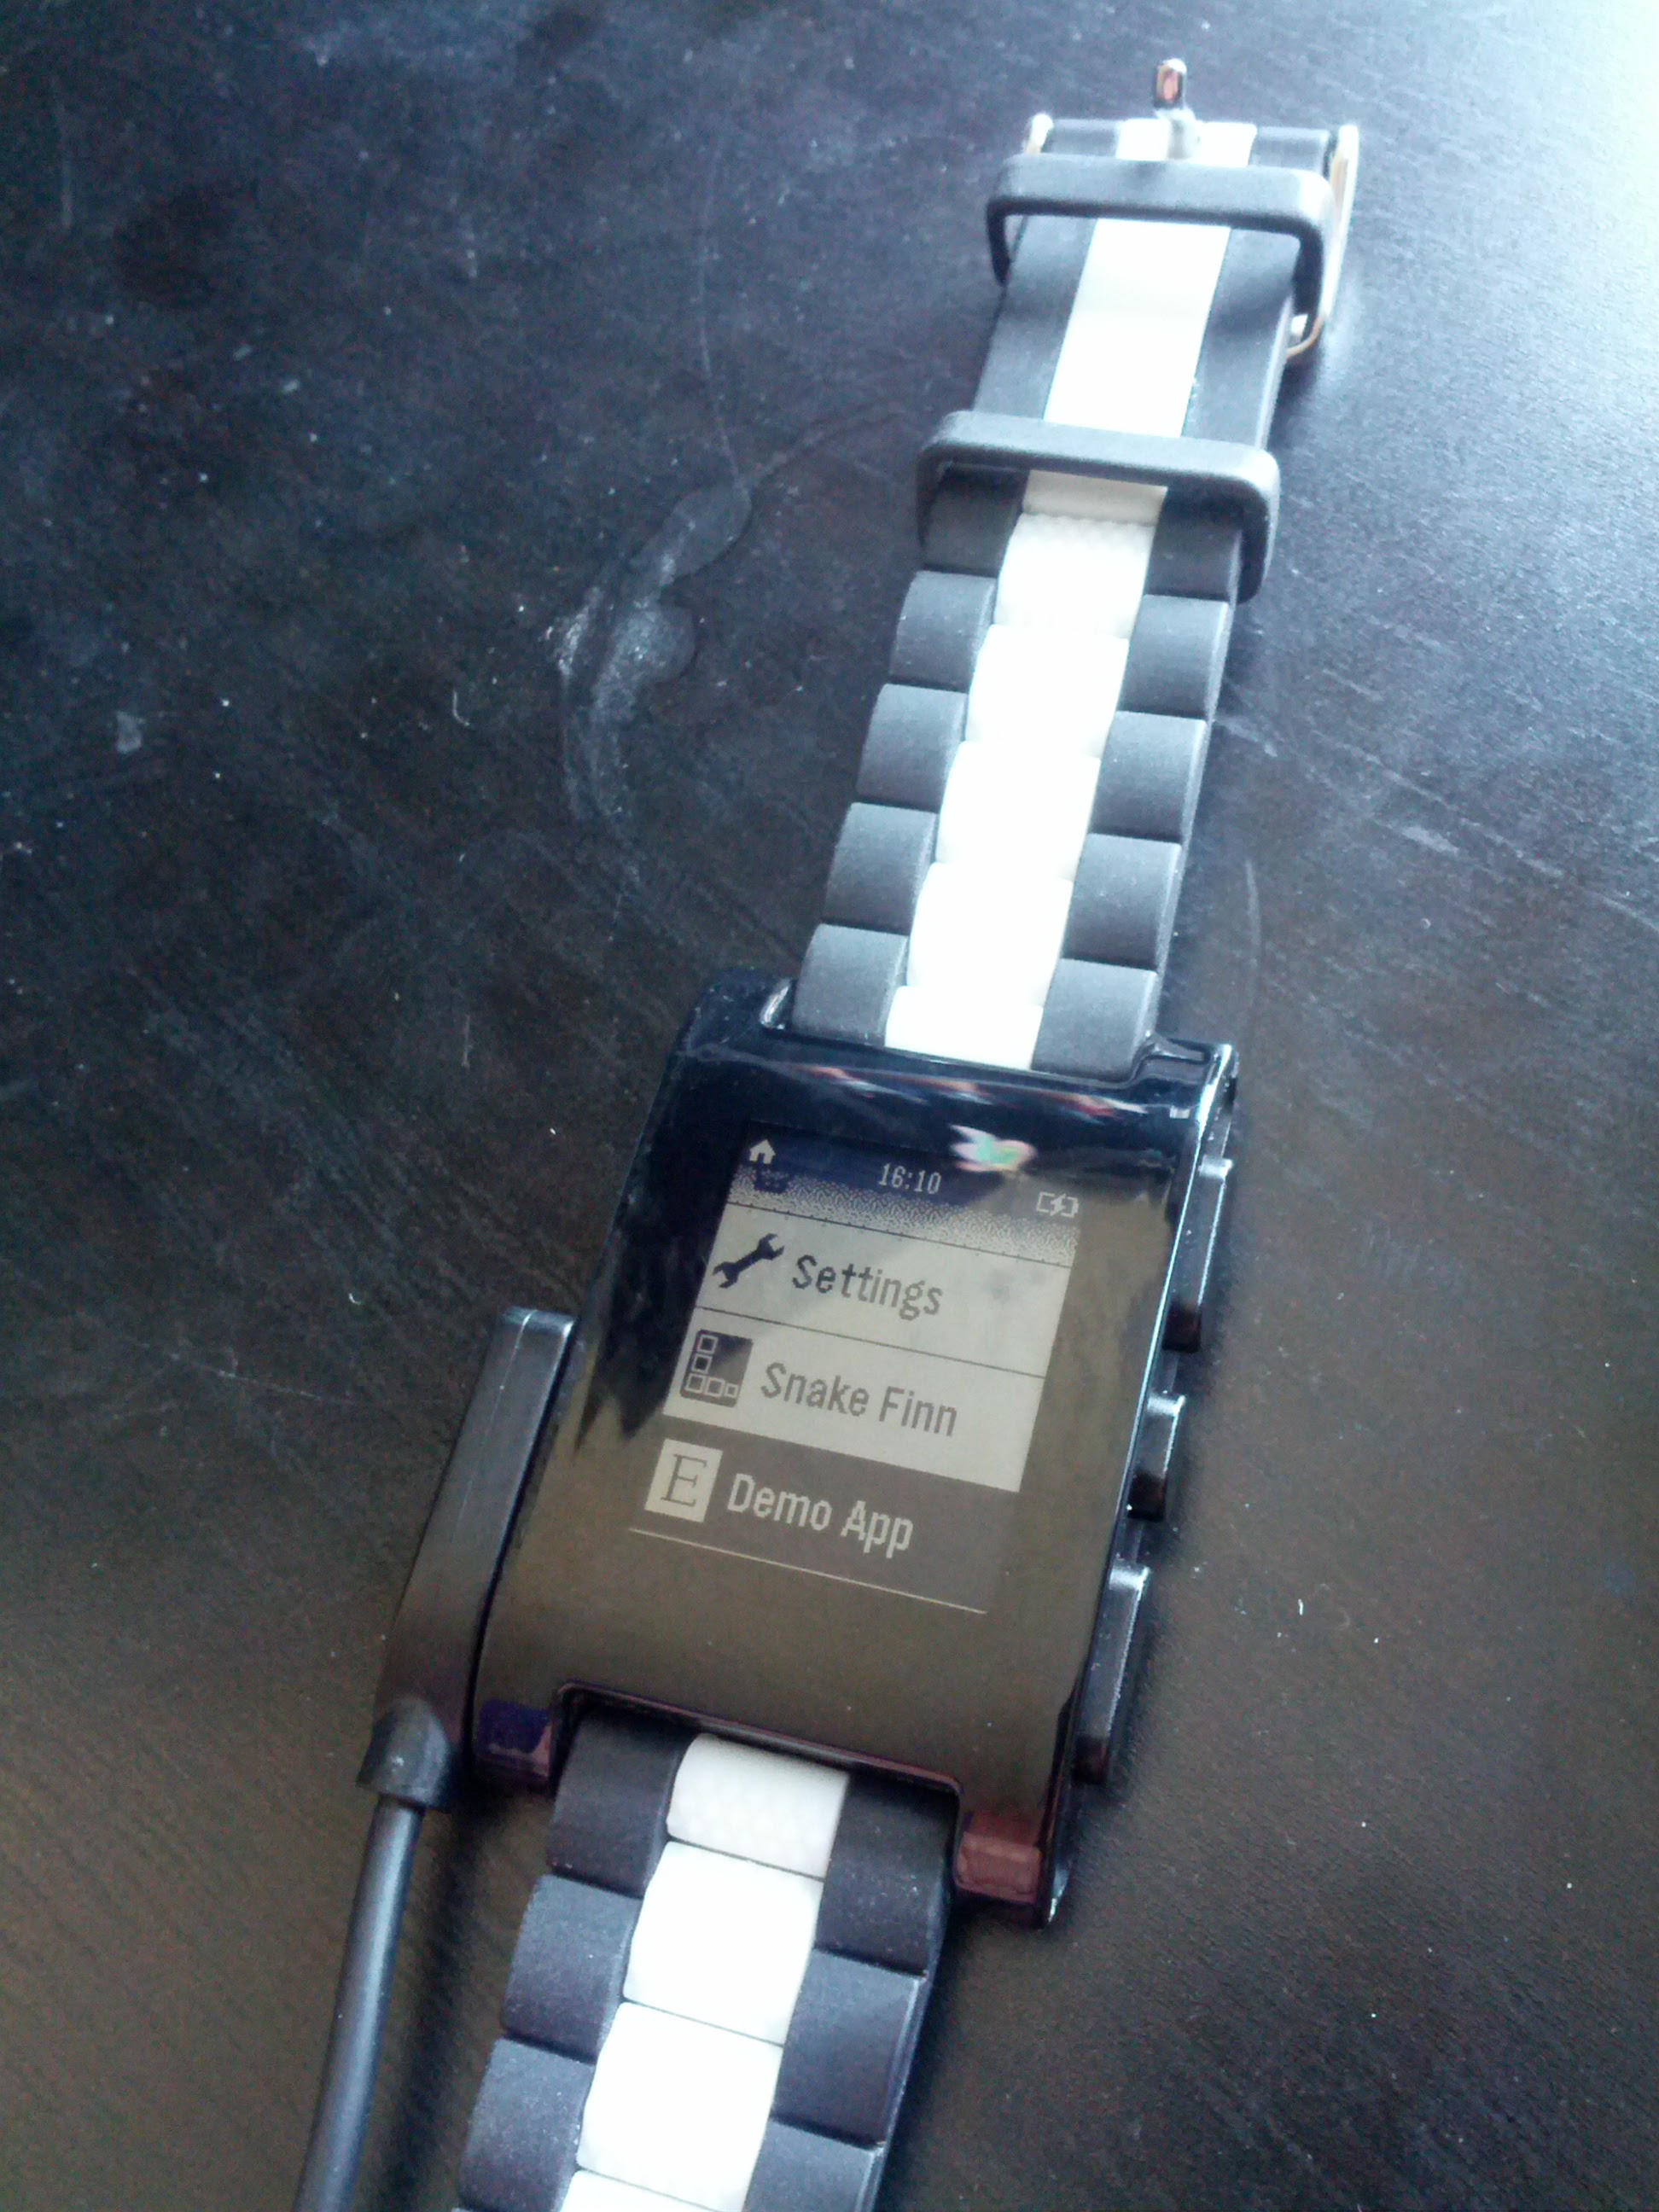 We need a shiny icon for our app, so modify the resource_map.json and put an icon in an images subdirectory to the json file. Your icon should be 24 by 28 pixels. Replace the dummy data and fill in the differences:
{
        "type": "png",
        "defName": "IMAGE_MENU_ICON",
        "file": "images/menu_icon.png"
}
Then, replace DEFAULT_MENU_ICON near the head with RESOURCE_ID_IMAGE_MENU_ICON.
Now let’s add some text. If we look at pebble_fonts.h we can see we have the following options:
#define FONT_KEY_FONT_FALLBACK "RESOURCE_ID_FONT_FALLBACK"
#define FONT_KEY_GOTHIC_14 "RESOURCE_ID_GOTHIC_14"
#define FONT_KEY_GOTHIC_14_BOLD "RESOURCE_ID_GOTHIC_14_BOLD"
#define FONT_KEY_GOTHIC_18 "RESOURCE_ID_GOTHIC_18"
#define FONT_KEY_GOTHIC_18_BOLD "RESOURCE_ID_GOTHIC_18_BOLD"
#define FONT_KEY_GOTHIC_24 "RESOURCE_ID_GOTHIC_24"
#define FONT_KEY_GOTHIC_24_BOLD "RESOURCE_ID_GOTHIC_24_BOLD"
#define FONT_KEY_GOTHIC_28 "RESOURCE_ID_GOTHIC_28"
#define FONT_KEY_GOTHIC_28_BOLD "RESOURCE_ID_GOTHIC_28_BOLD"
#define FONT_KEY_GOTHAM_30_BLACK "RESOURCE_ID_GOTHAM_30_BLACK"
#define FONT_KEY_GOTHAM_42_BOLD "RESOURCE_ID_GOTHAM_42_BOLD"
#define FONT_KEY_GOTHAM_42_LIGHT "RESOURCE_ID_GOTHAM_42_LIGHT"
#define FONT_KEY_GOTHAM_42_MEDIUM_NUMBERS "RESOURCE_ID_GOTHAM_42_MEDIUM_NUMBERS"
#define FONT_KEY_GOTHAM_34_MEDIUM_NUMBERS "RESOURCE_ID_GOTHAM_34_MEDIUM_NUMBERS"
#define FONT_KEY_GOTHAM_34_LIGHT_SUBSET "RESOURCE_ID_GOTHAM_34_LIGHT_SUBSET"
#define FONT_KEY_GOTHAM_18_LIGHT_SUBSET "RESOURCE_ID_GOTHAM_18_LIGHT_SUBSET"
#define FONT_KEY_DROID_SERIF_28_BOLD "RESOURCE_ID_DROID_SERIF_28_BOLD"
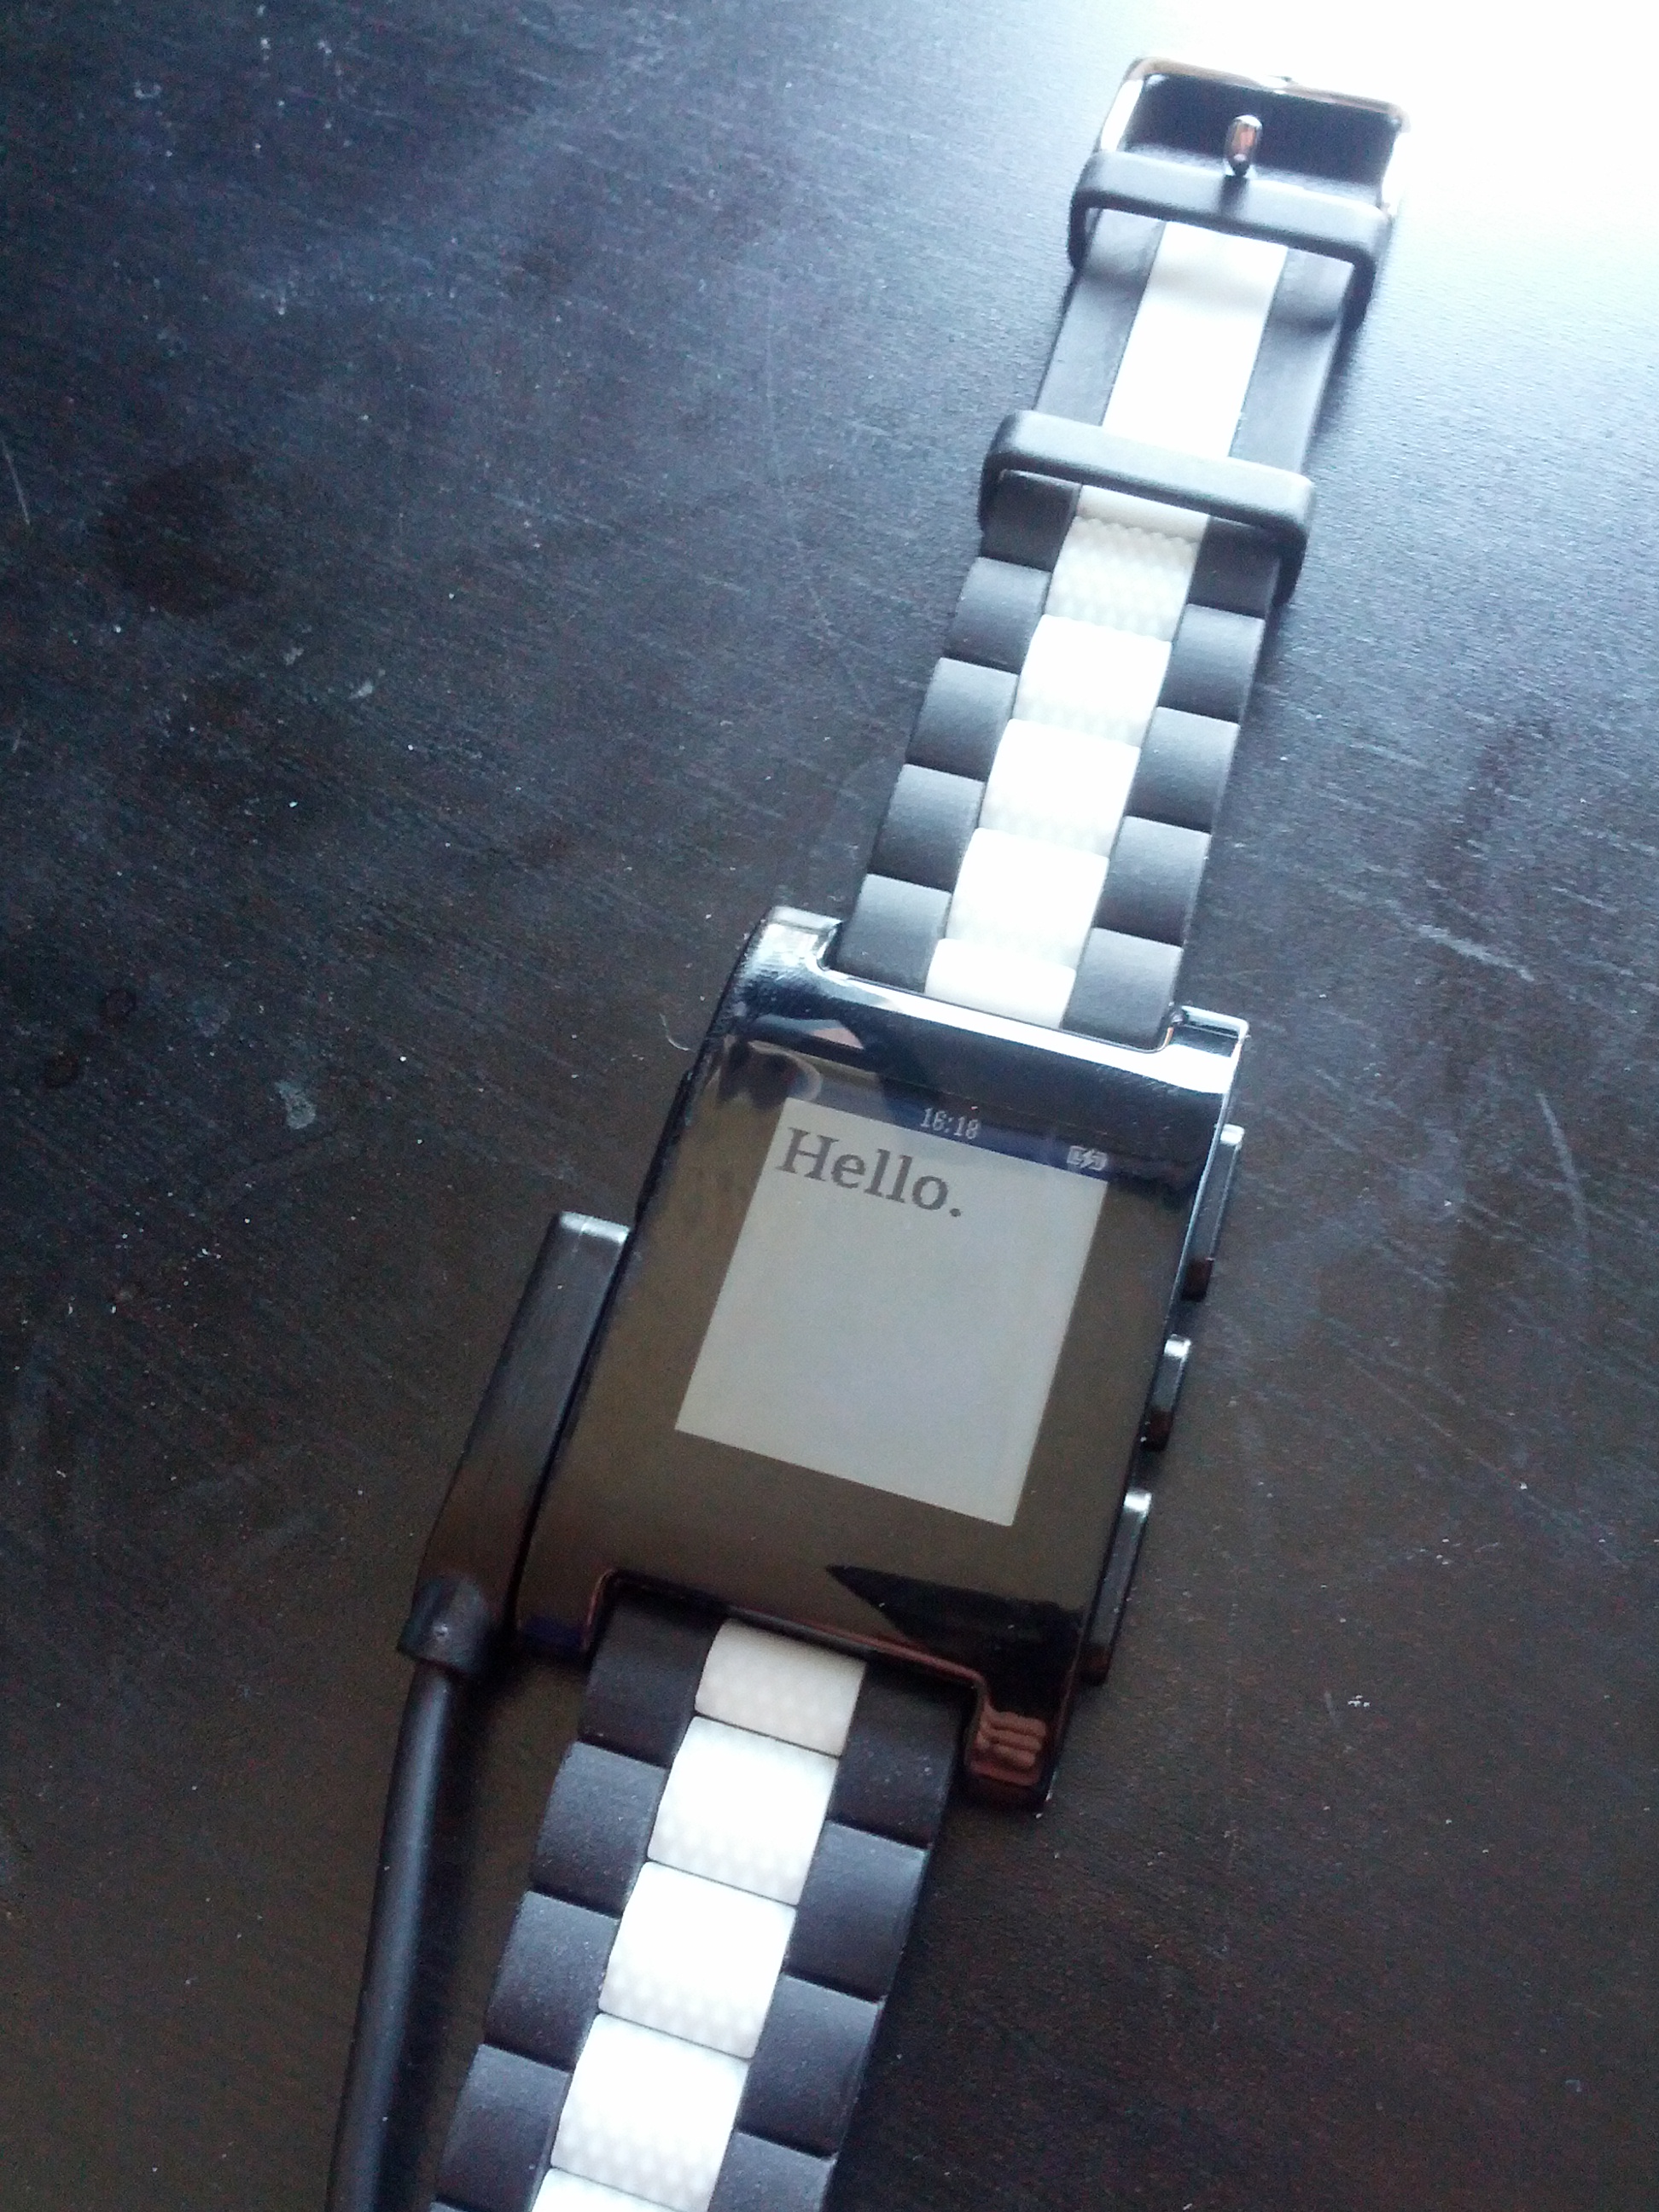
Let’s go with the Droid Serif option. Add this to your main project .c file:
Layer layer;

void update_layer_callback(Layer *me, GContext* ctx) {
  (void)me;

  graphics_context_set_text_color(ctx, GColorBlack);

  graphics_text_draw(ctx,
		     "Hello.",
		     fonts_get_system_font(FONT_KEY_DROID_SERIF_28_BOLD),
		     GRect(5, 5, 200, 200),
		     GTextOverflowModeWordWrap,
		     GTextAlignmentLeft,
		     NULL);
}
This created a new layer and a function to draw text to that layer. For more information on how GRect works, check out the UI Specs in the SDK. You also have to initialize the layer in the handle_init function:
 layer_init(&layer, window.layer.frame);
 layer.update_proc = update_layer_callback;
 layer_add_child(&window.layer, &layer);
Build your App
To build your app, execute this in the project directory:
./waf clean build && pushd build/ && python -m SimpleHTTPServer 8000
Navigate to the computer address on your phone and install the .pbw. Then when you are finished execute:
popd
to get ready for another build run. That was easy, right?
I recommend taking a look through the pebble code to continue to add functionality. Vibration and key presses are easy things to do when you follow the examples.
This Post Has 0 Comments